Thanks for stopping by our blog. We hope this blog post is a great resource for you. Feel free to browse around for other ideas/inspiration. If you like what you see, we’d love to hear from our readers….drop us a comment at the end. Also, we’re fairly new to the whole blogging world and would love for you to join us in this adventure by following…our time is limited but we try to update it often. Thanks, Tommy and Ellie.

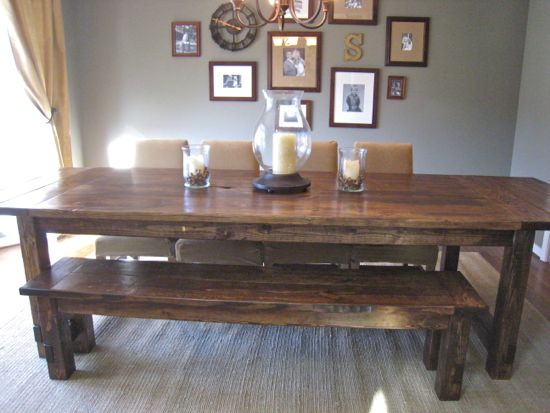
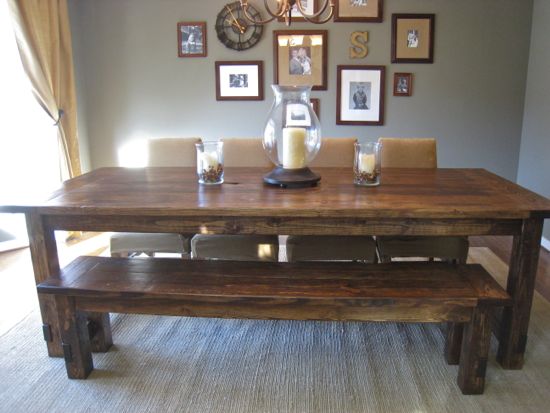
It wasn’t too long ago when I took on my first big building project….the infamous Farmhouse Table. I had little clue of what I was doing but I moved forward anyways.
Since then, I’ve built similar tables for friends, family, and strangers. Each time that I’ve built the table, I’ve learned one or more tricks on either simplifying the process or making a better quality product. I look back at the original post and almost cringe with embarrassment about certain aspects of how I used to build the table…..that’s why I decided to document my latest table with more pictures, more details, more measurements, and hopefully more resources to better equip others to make a similar table.
I have to start by giving all the credit to the Ana-White website and Restoration Hardware.
These instructions are to create a table with the dimensions 96″x41″. I put together a cut list and shopping list pdf for both a 96″x45″ table, matching bench, and extensions AND a 72″x41″ table, matching bench, and extensions ~~~~>
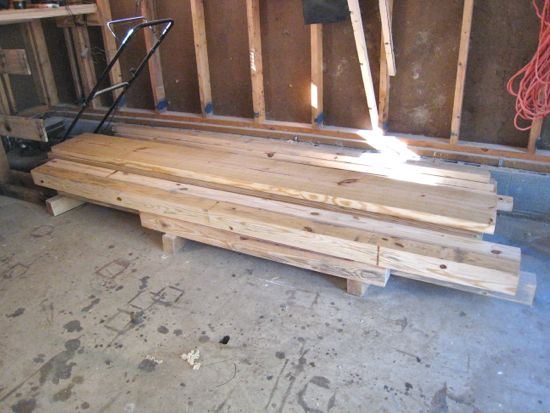
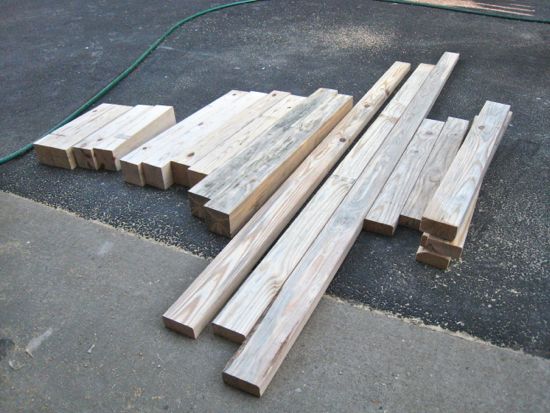
I purchased all the wood from a local mill. I bought all #2 kiln-dried pine. Here’s what I purchased to build the table, the bench, and the extensions;
- 2: 2×12
- 2: 2×10
- 5: 2×8
- 10: 2×4
- 3: 4×4
In this post I will document the construction and finishing of just the table. I will create two additional posts documenting the construction and finishing of the bench and the extensions. The details on the extensions can be found here. Once posted, I’ll update this post with links.
For this specific table, the overall dimensions measure 41″x95.5″x30″. Here’s the cut list for this specific table (96″x41″);
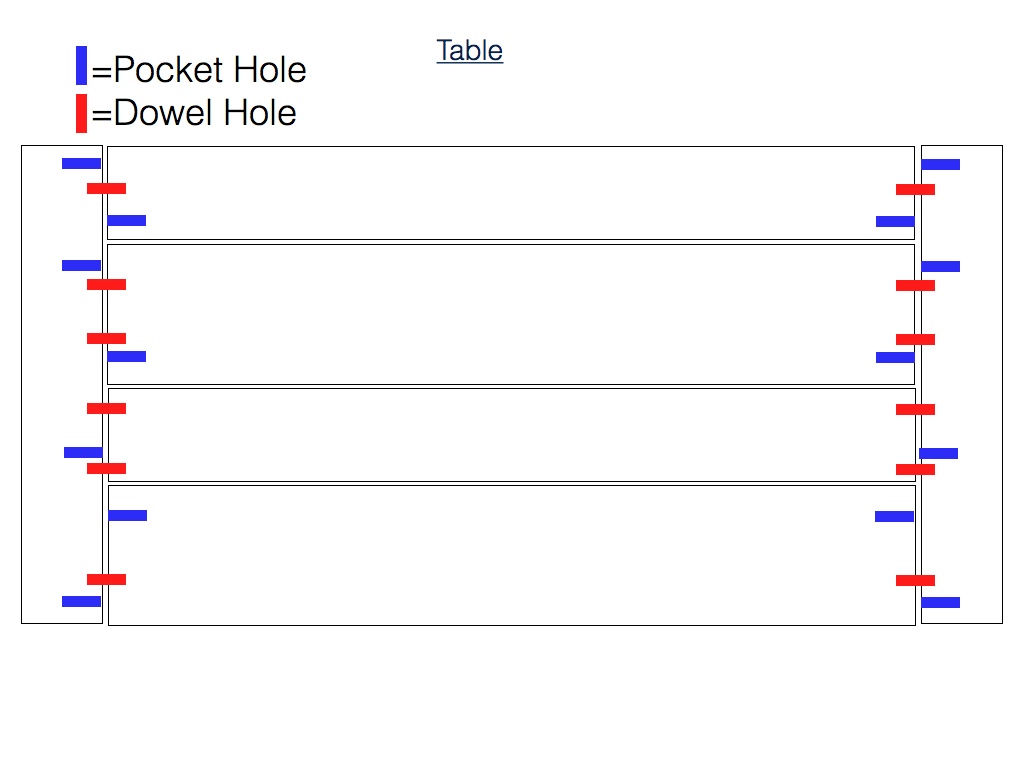
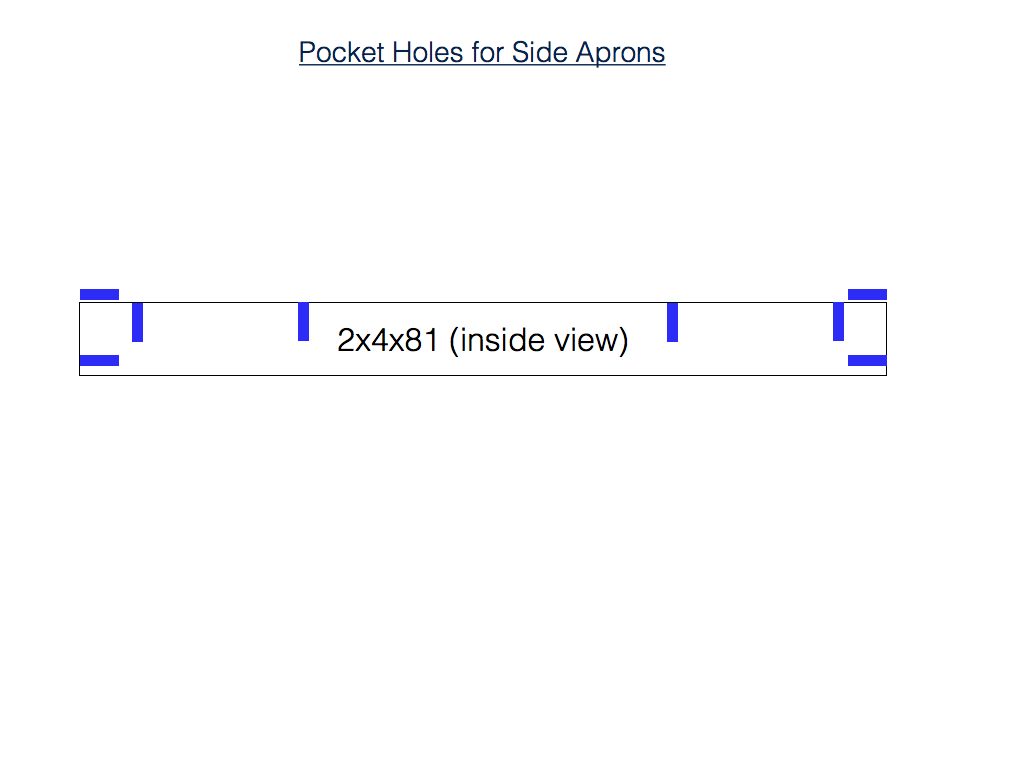
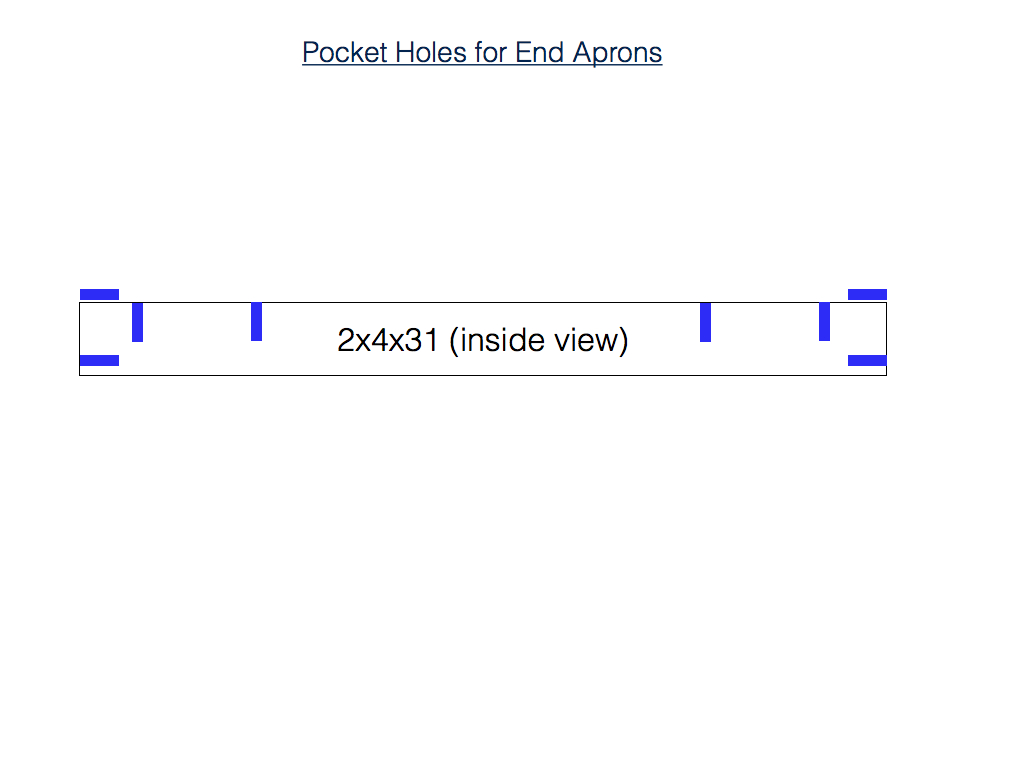
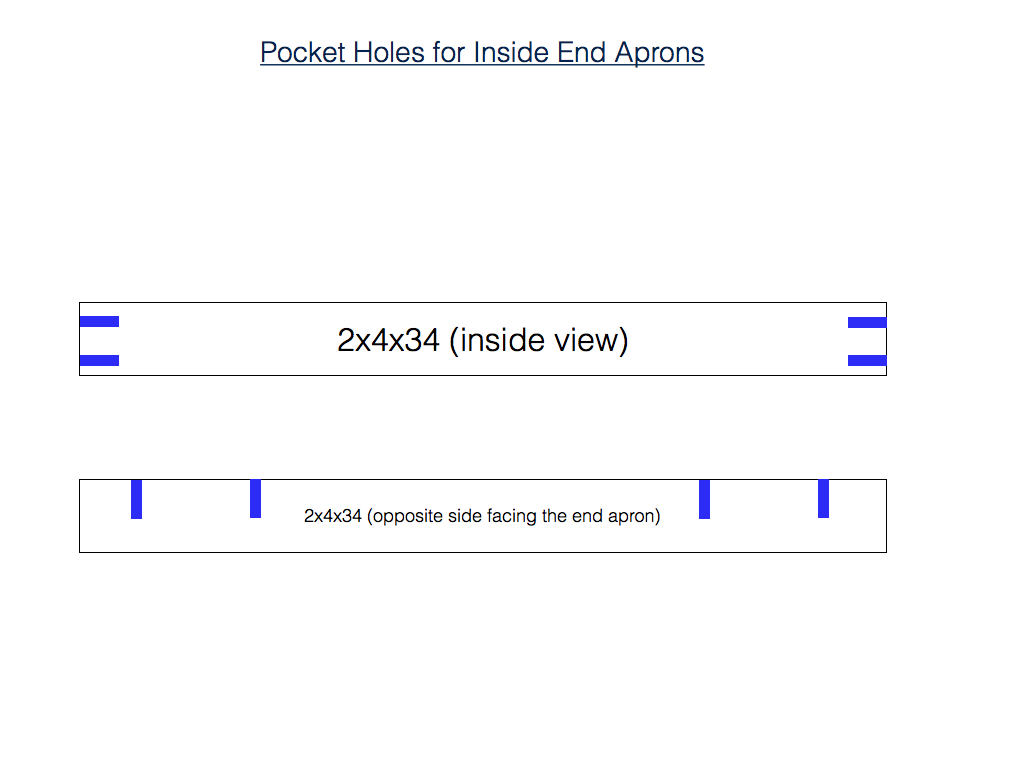
Here’s some basic building plans that I whipped together using Keynote to help serve as a visual;
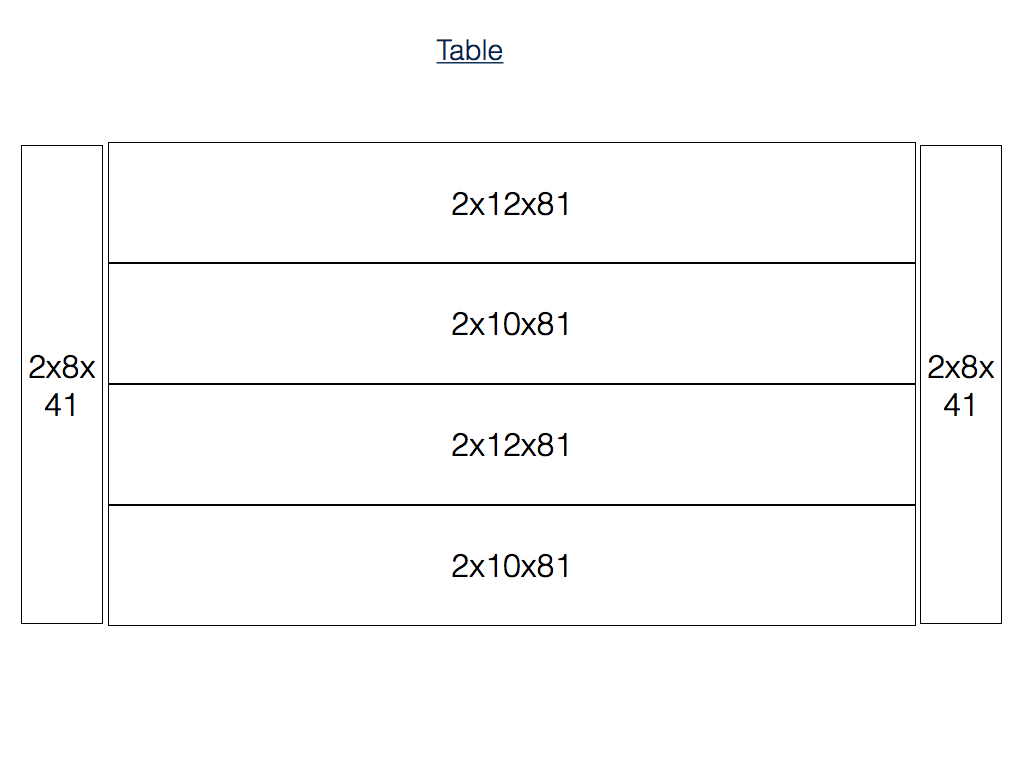
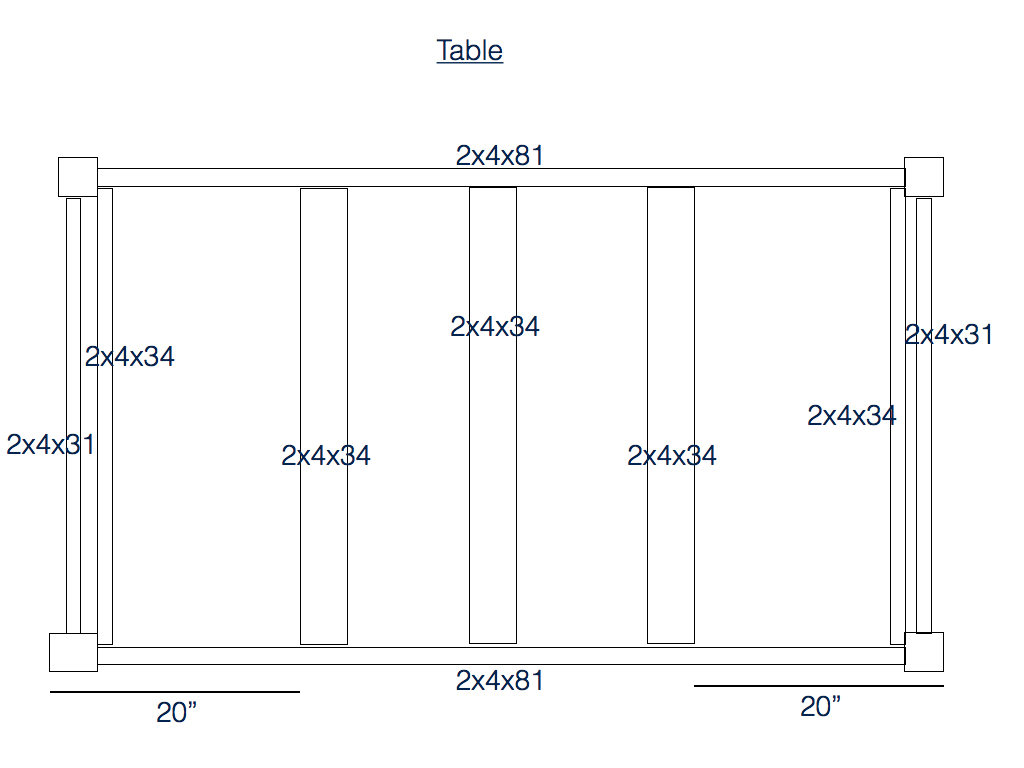
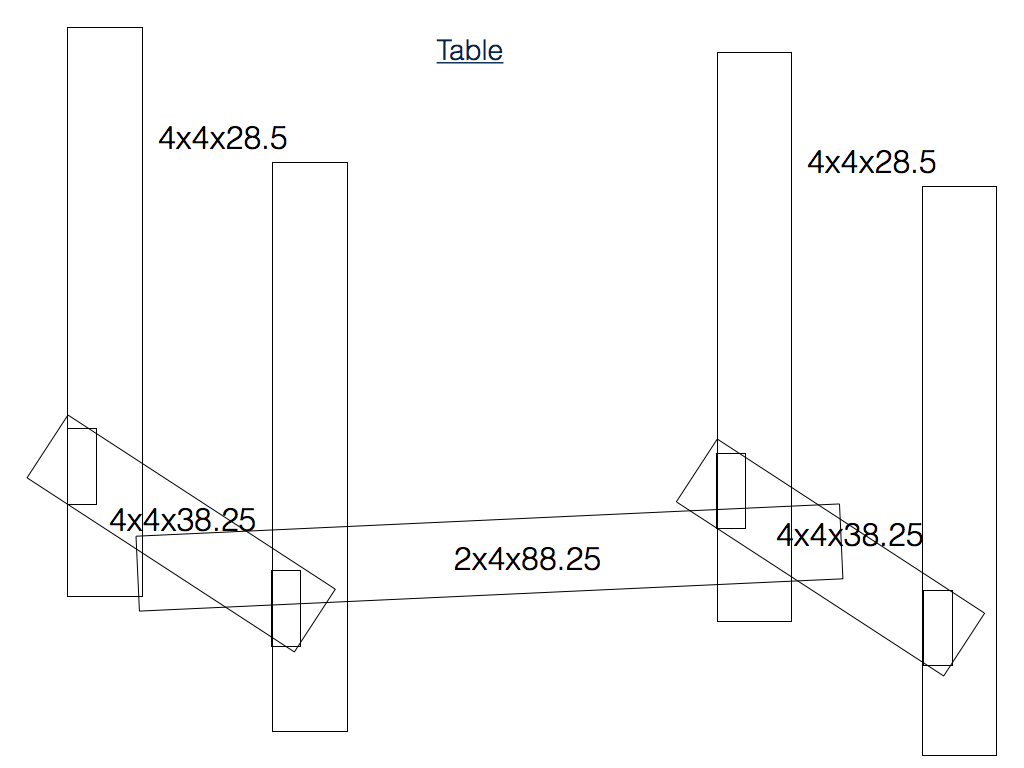
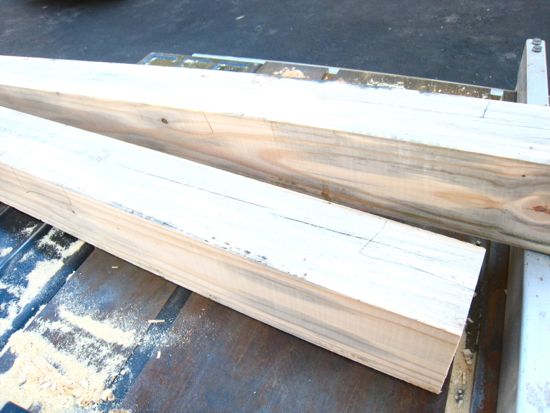
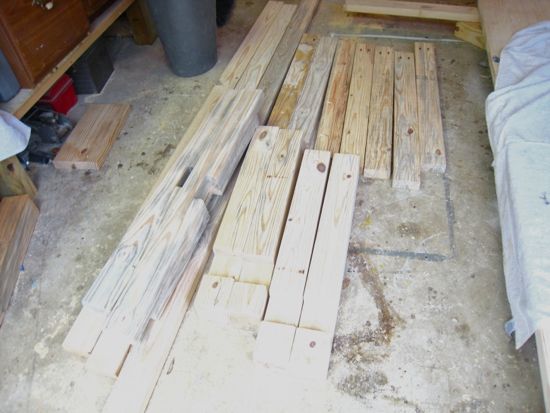
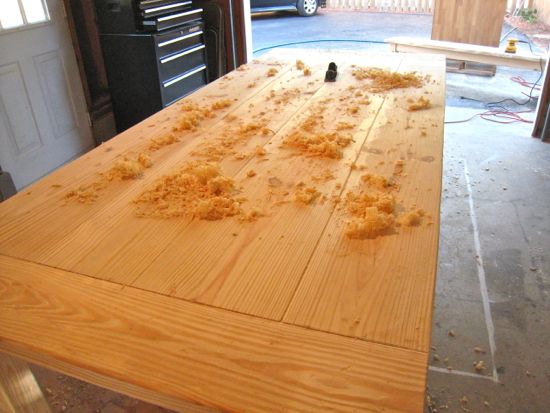
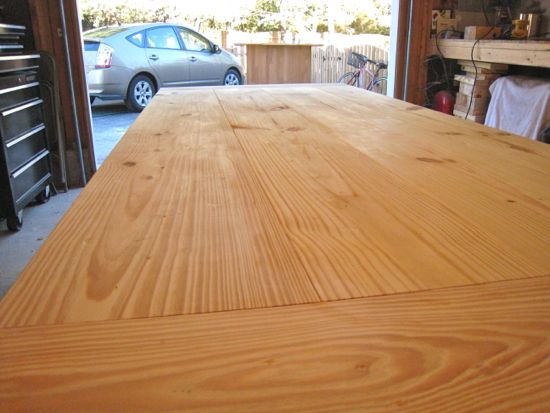
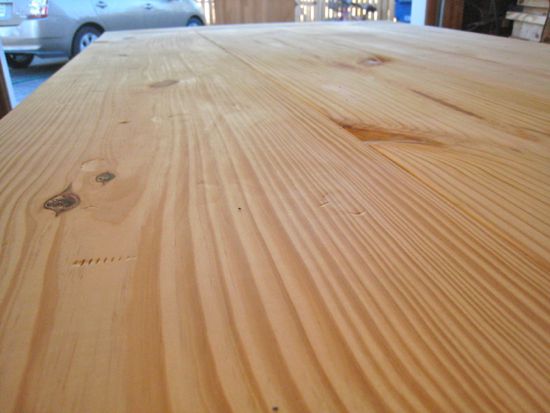
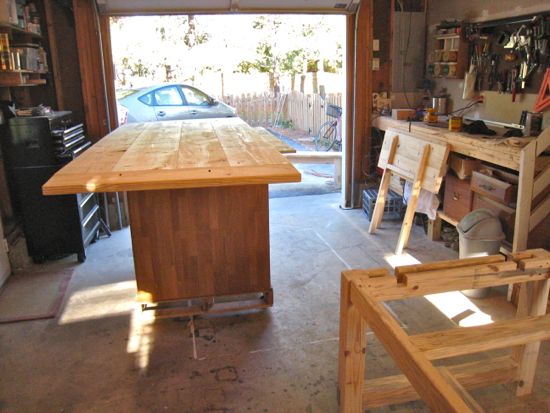
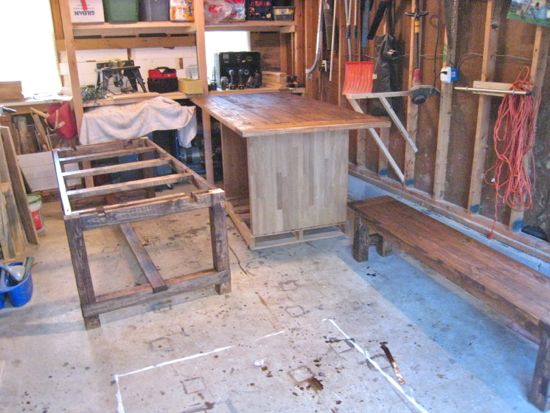
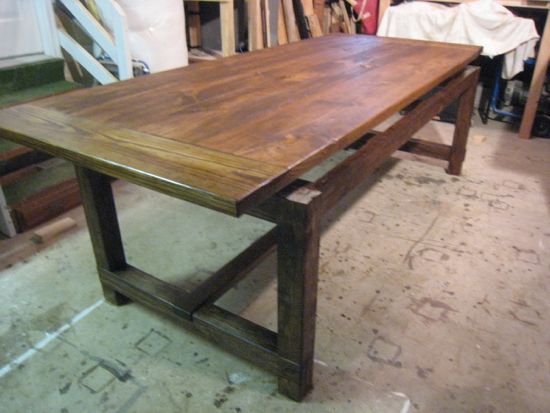
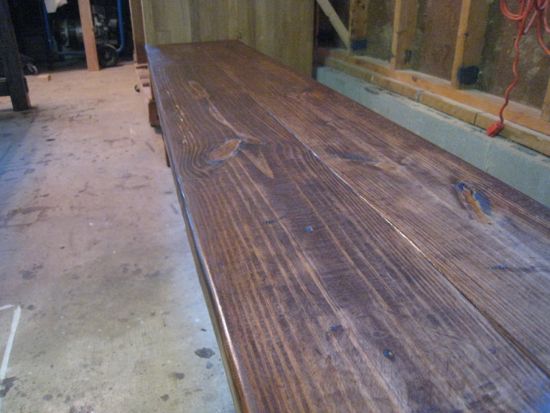
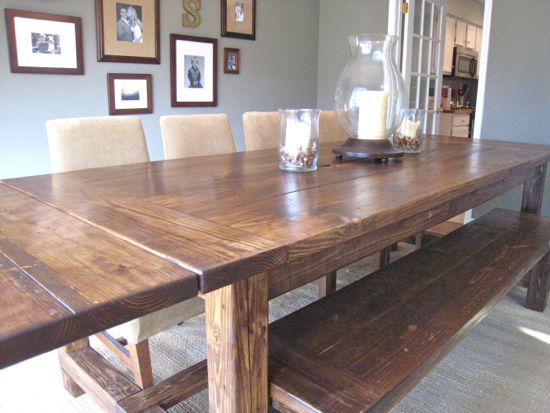
I decided to start this table by beginning with the tabletop. I take my 2×12″s and my 2×10″s and lay them on my concrete floor. I then mess around with different possible arrangements and look for any irregularities in the edges and fitment of boards next to one another as well as determining what will serve as the topside of the boards. For this table, I went with a 2×12, 2×10, 2×12, 2×10, pattern. The way the seams lined up on these planks were staggered so I marked off one end and cut them square (I left the opposite end untouched).
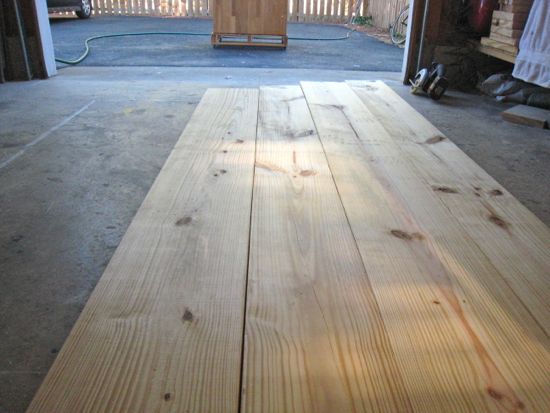
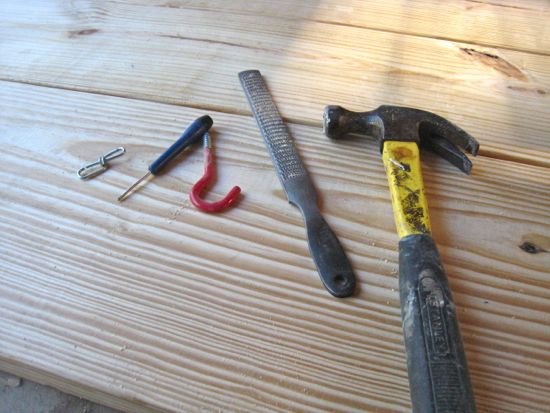
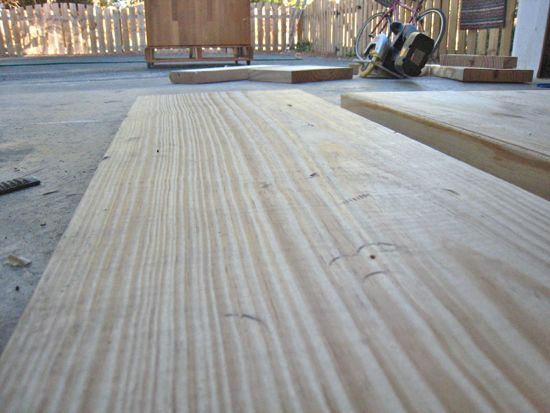
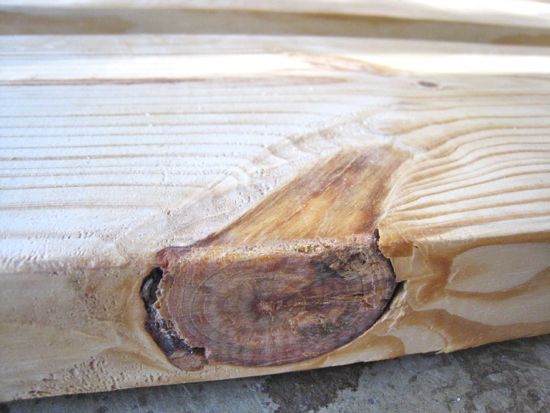
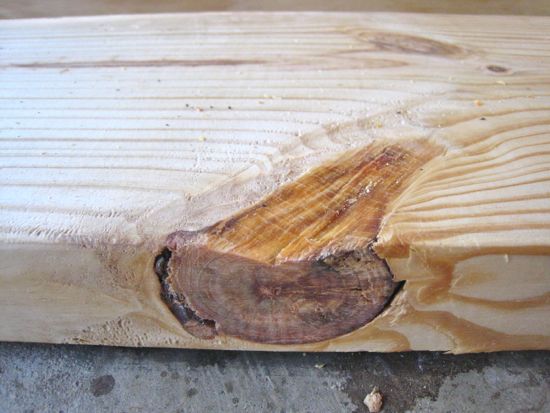
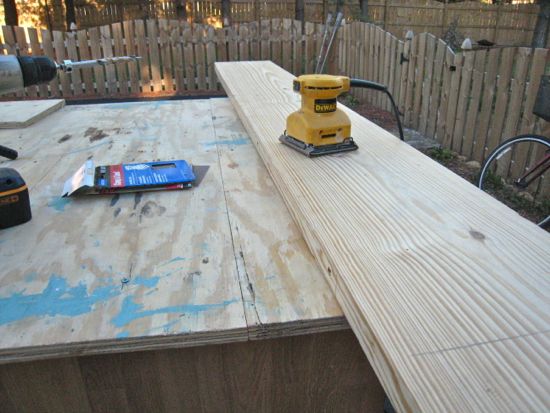
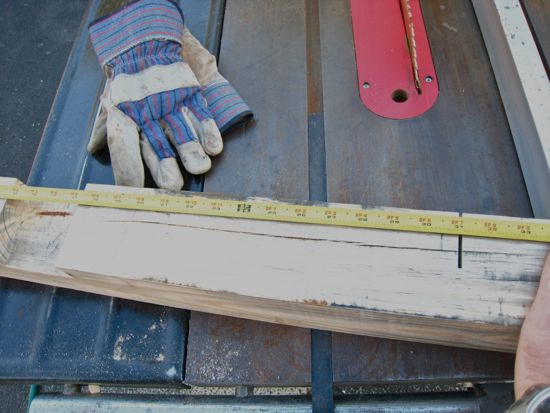
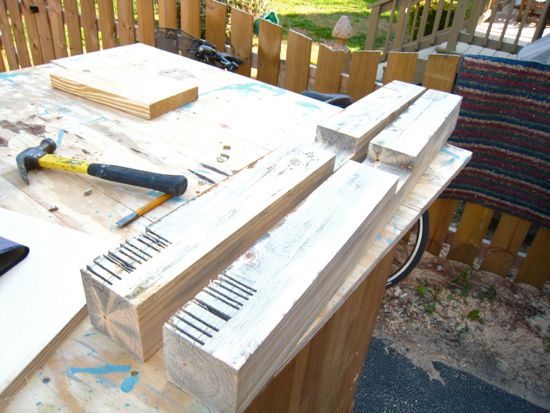
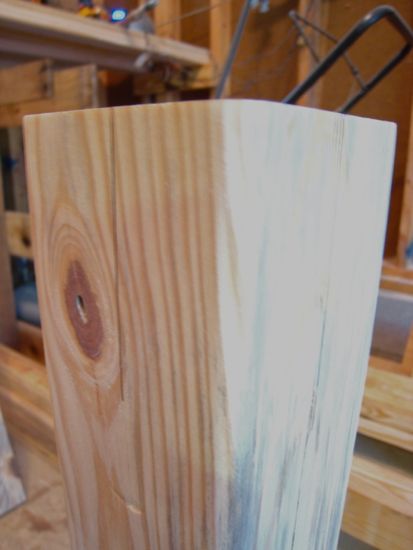
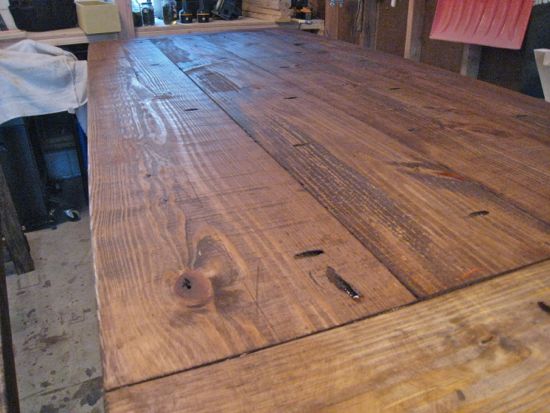
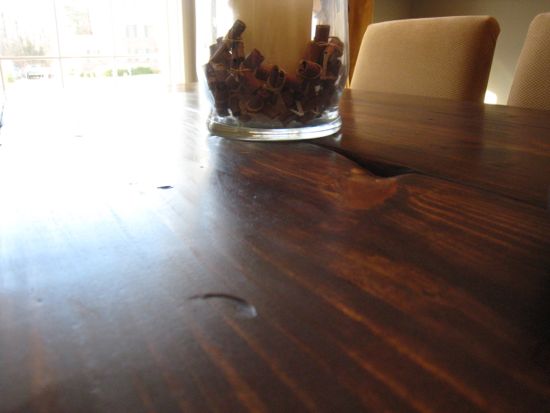
The end that was cut would become the end that I would line up flush during assembly. I made a mark 81″ from the edge so that I know where to distress/sand. To distress the wood, I take out a few items found around my garage and randomly hit them against the wood to create small indentations. I used to think that I wanted it distressed a whole lot but have come to find that I prefer for it to be subtly distressed. I have a couple of staple marks that I like to create one of which being a knot in the middle of the table that appears old/worn/weathered. To accomplish this I take my chisel and hammer and chisel away some at the knot.
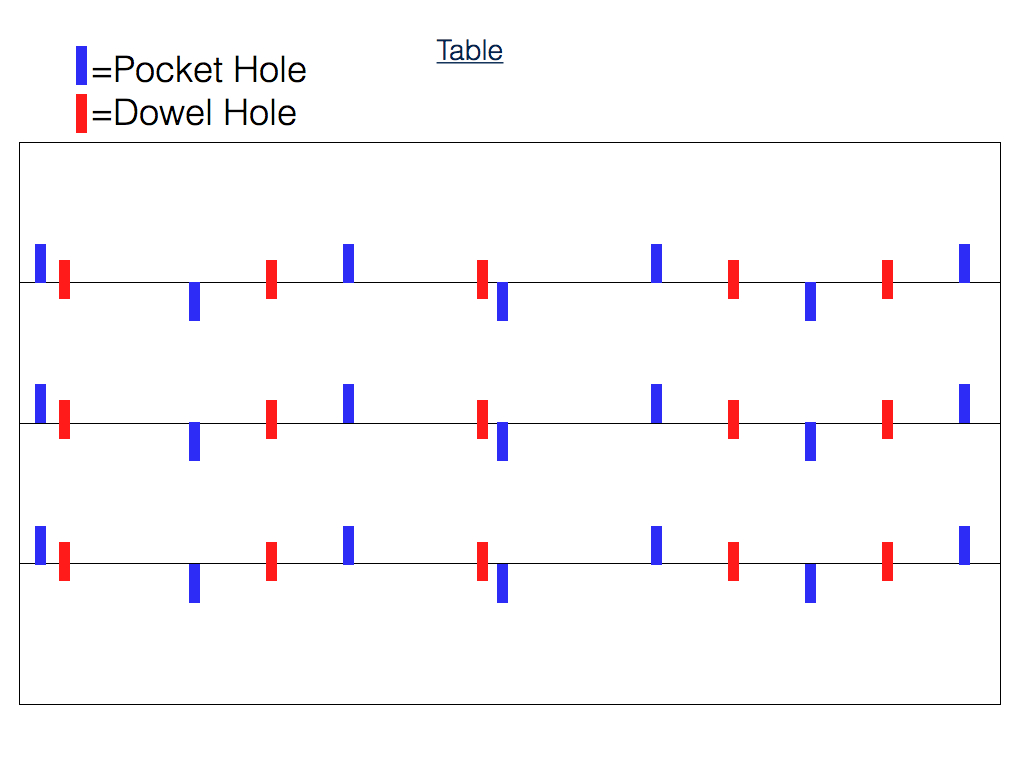
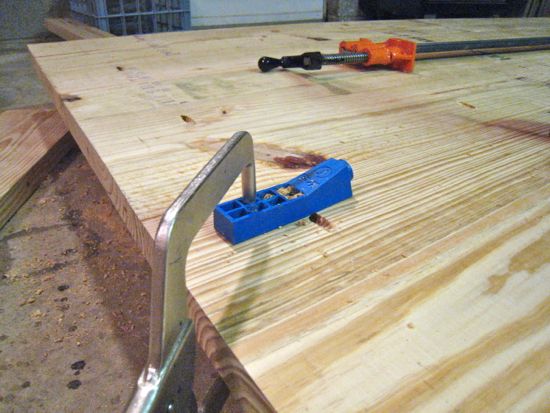
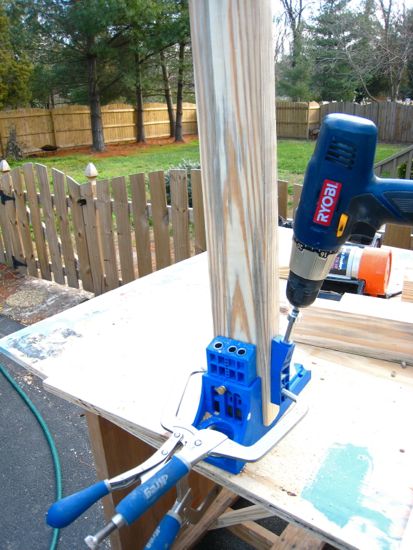
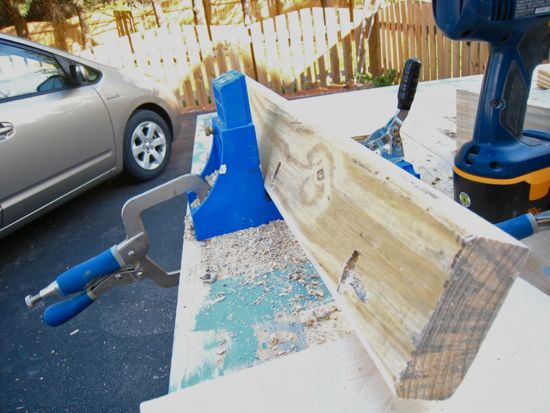
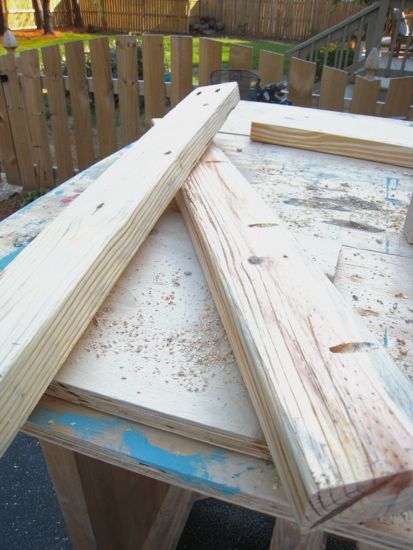
After it’s distressed I make my marks for pocket holes. One of our readers recently made an amazing table and used dowels so I decided to give that a try for the first time ever on this table and I loved it. I purchased the same jig that he used found here. If you don’t own a jig or want to buy one…..no worries, just skip over the dowels and use pocket holes (that’s how I made all my other tables). To create pocket holes you’ll need a Kreg Jig…..hands down one of the best tools you can own. I created a little picture to demonstrate how I drill my holes. Here’s the measurements of each hole (Measurements starting from the flush end);
Pocket Holes (alternating every other from board to board)
- 4″
- 16″
- 28″
- 42″
- 52″
- 64″
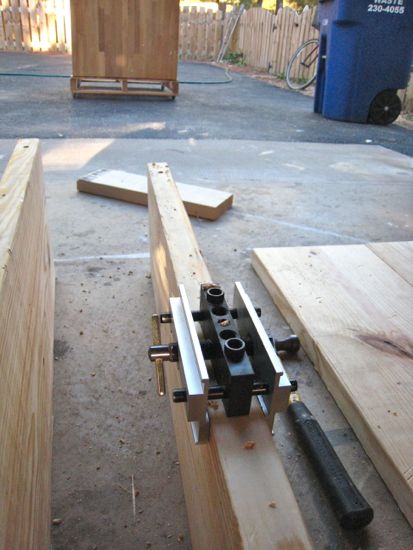
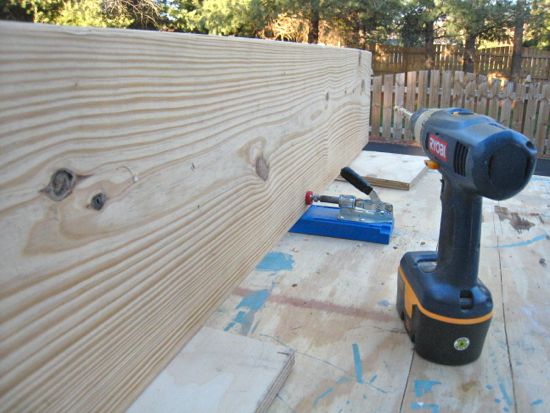
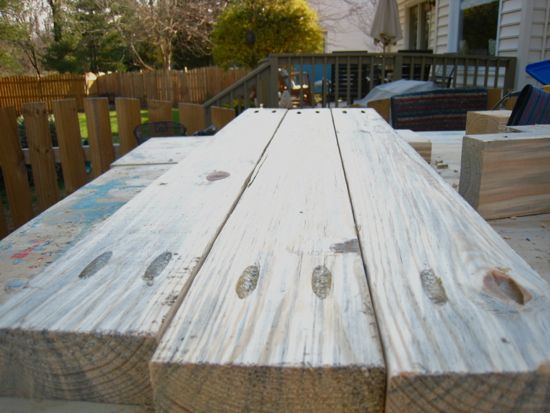
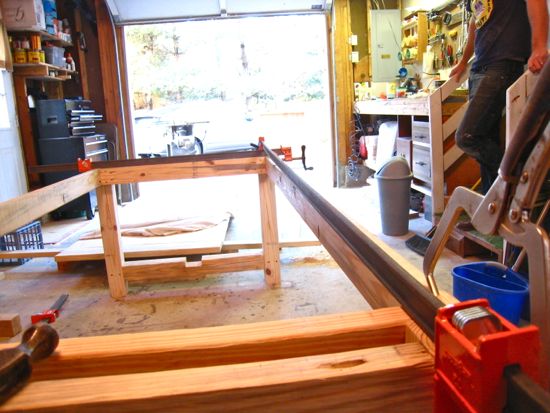
Time for assembly. I use some wood glue for the dowels, place them in, and begin to clamp the first two planks into one another. I use an excessive amount of clamps for this part (it may be overkill but my preference is to have nice tight fitting seams).
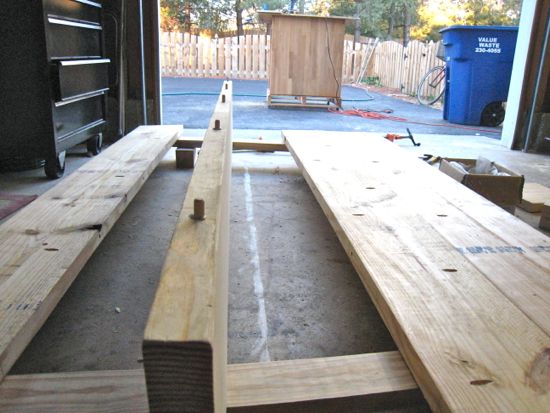
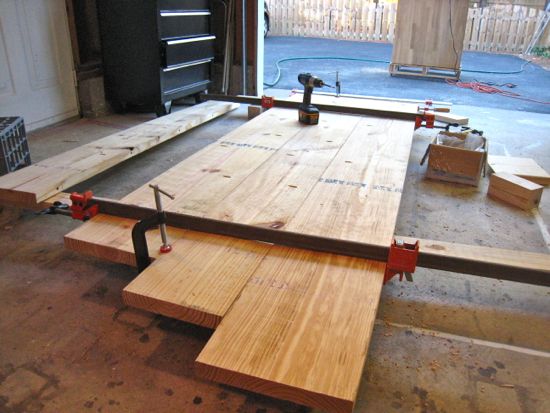
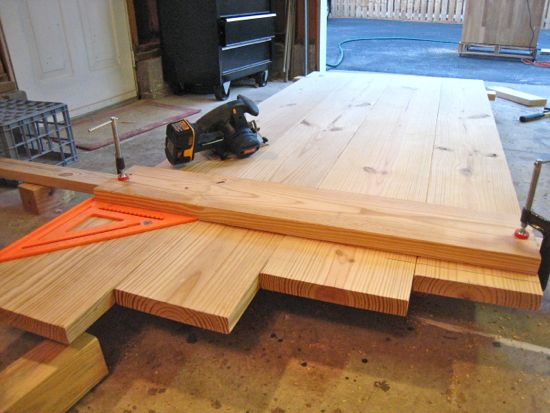
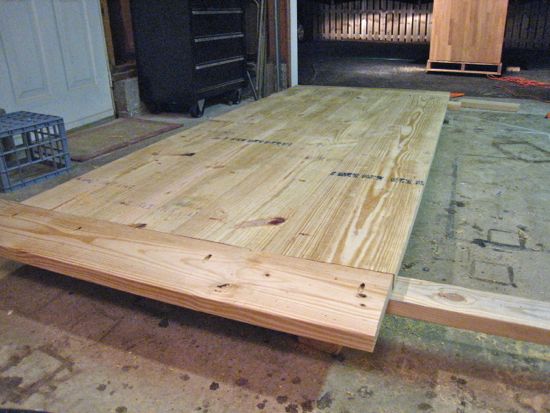
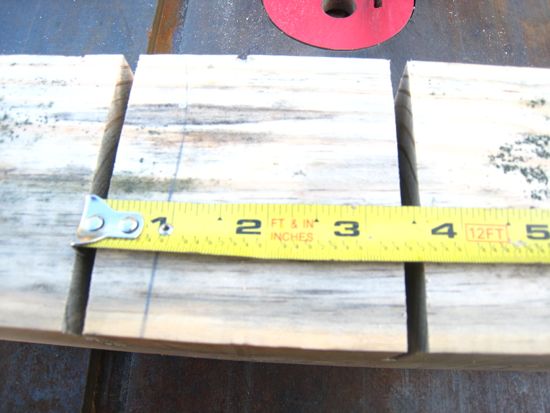
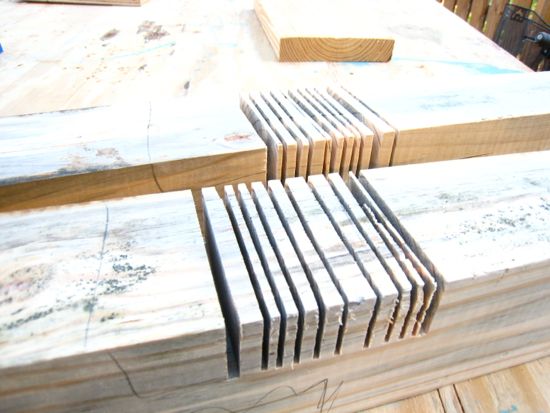
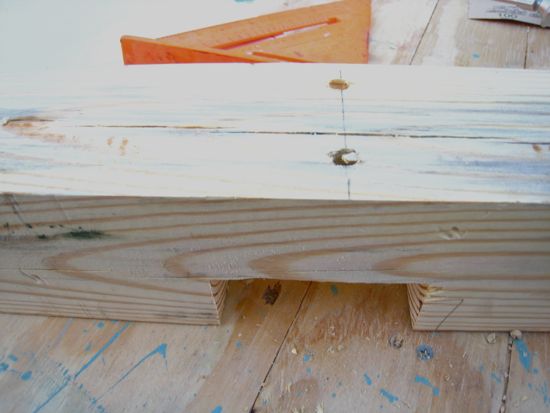
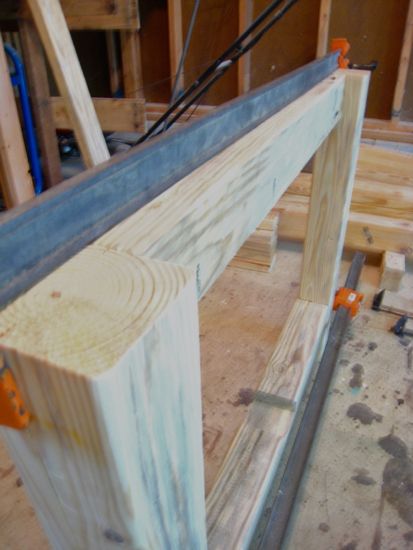
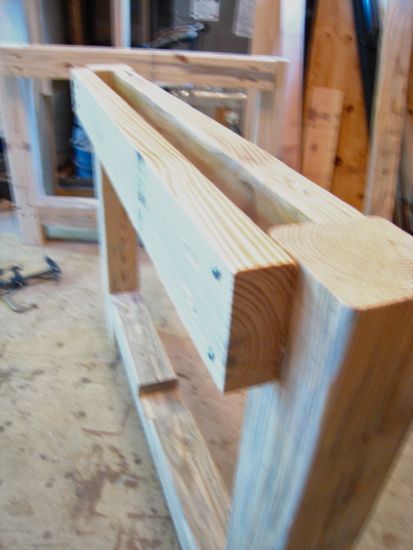
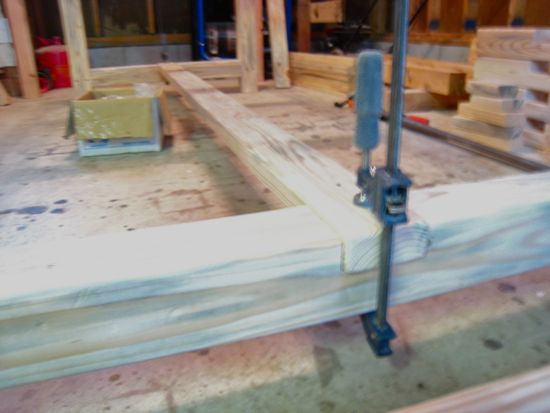
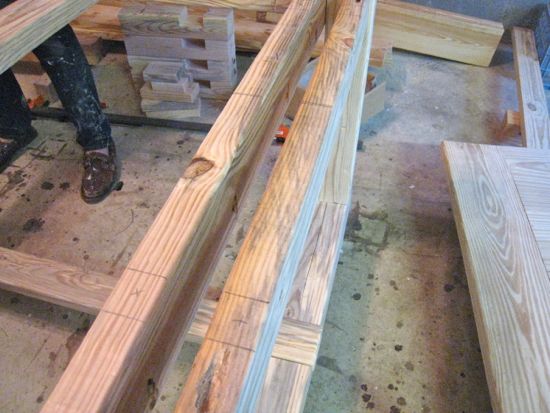
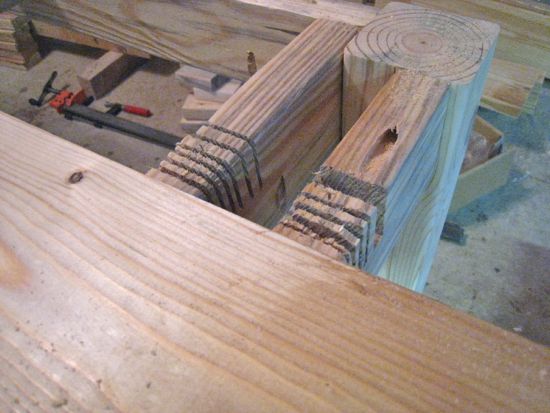
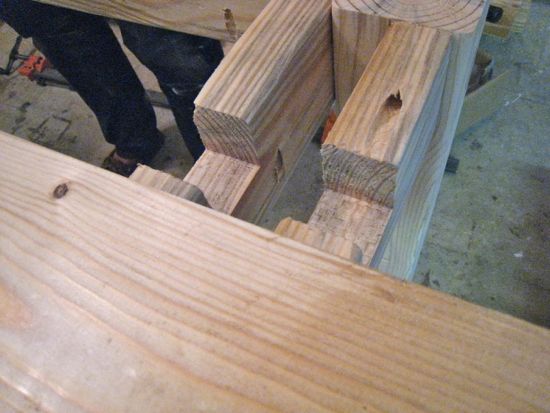
Once all four planks are screwed together, I test fit the breadboards onto the flush end and find the best fitting board. I take the other board to the other end. I mark the planks at 81″ and clamp down the breadboard to the planks to create a straight line for me to cut along. I then unclamp the breadboard and give it a test fit.
Pocket Holes
- 2″
- 9″
- 15″
- 22.5″
- 30″
- 33.5″
- 39″






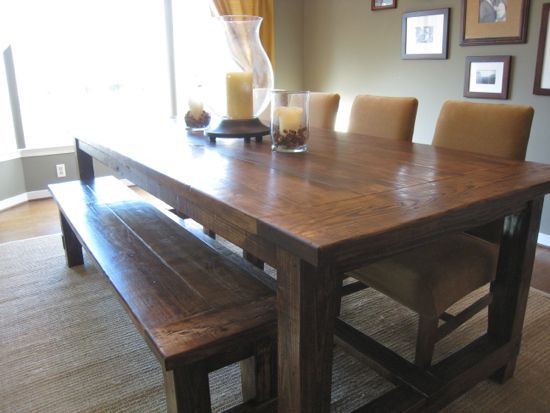
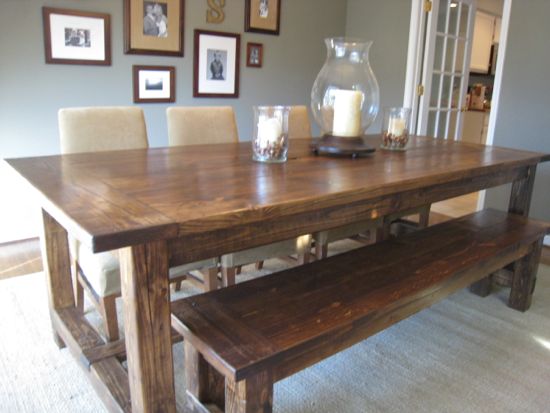
Original article and pictures take tommyandellie.com site
Комментариев нет:
Отправить комментарий