Oh HEY guys! For those of you that follow us on Instagram, you have seen the progress of this baby I am sharing today. I am in LOVE… With a table. Not ashamed.
I loved my old dining set, but have always wanted to build one myself for my fam. With 5 kiddos under the age of 11, we live a casual lifestyle, and I avoid cushions if at all possible. Casual doesn’t have to be simple and boring though! So, I enlisted the help of my sweet, furniture planning guru, Miss Ana White to help me come up with this BEAUTIFUL and beefy DIY farmhouse dining table…
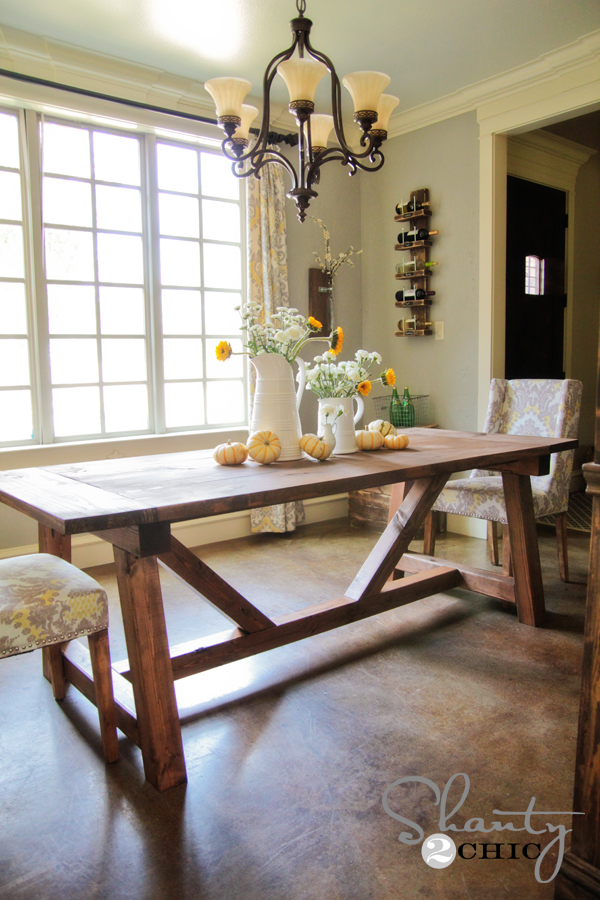
Isn’t is the bomb?? Too legit to quit! Restoration Hardware wants $3000 for it… I made it for $100 in wood.
I am going to share lots of tips and tricks on building this right here, and you can see the full set of free plans for the table on Ana’s site!
Let’s get started!
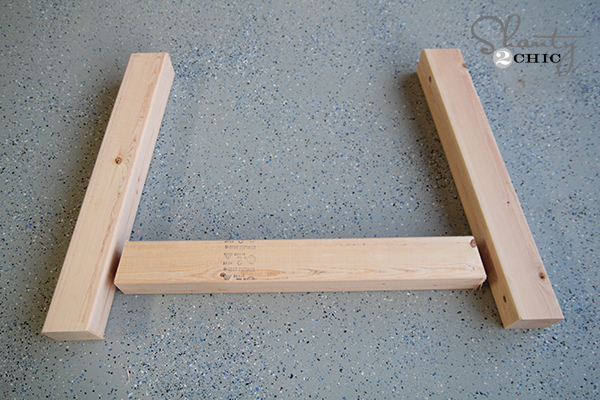
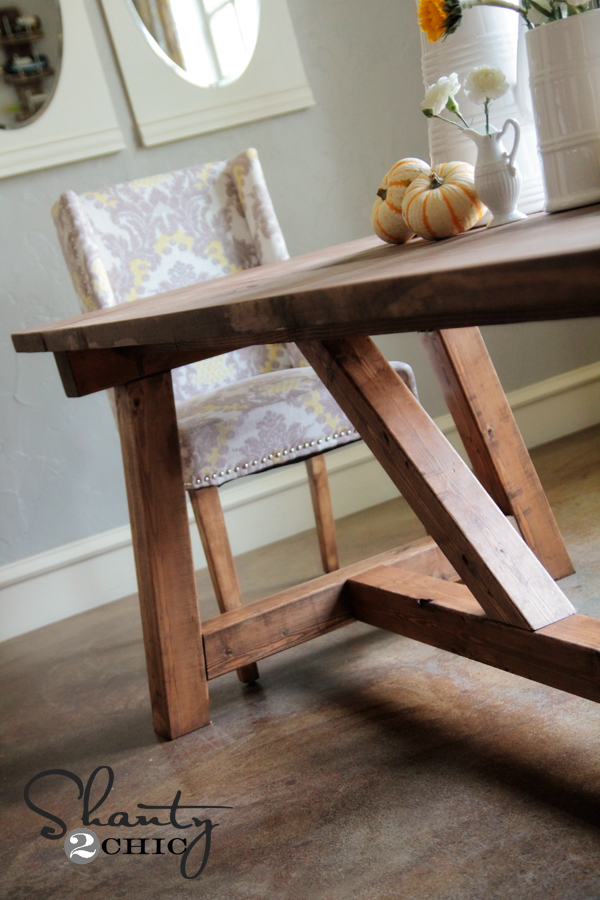
I knew I wanted this table to be big and beefy, so I was immediately drawn to using 4×4’s for the base. These are beautiful and cheap at the same time. There are some things you need to remember though. Because of their thickness, some saws won’t be able to cut them. A 12″ miter saw should do the trick perfectly.
I was so excited to finally get to bust open my Kreg HD Jig!
I’ve actually had it staring at me in a box for months because I was too intimidated to open it up. I avoid learning new things, and then once I see how easy they are, I want to hit myself for not doing them sooner.
So, basically the Kreg HD Jig is a larger version of the Kreg Jig. It’s perfect for working with big projects like this one, since you won’t be able to fit these 4×4’s into the Kreg Jig. Here is what it looks like and how I clamped it on to my boards.
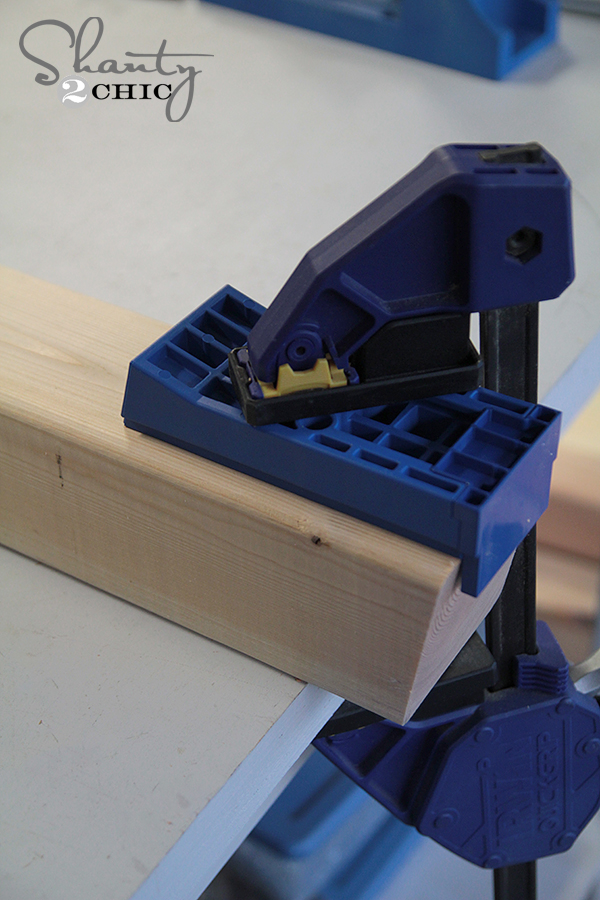
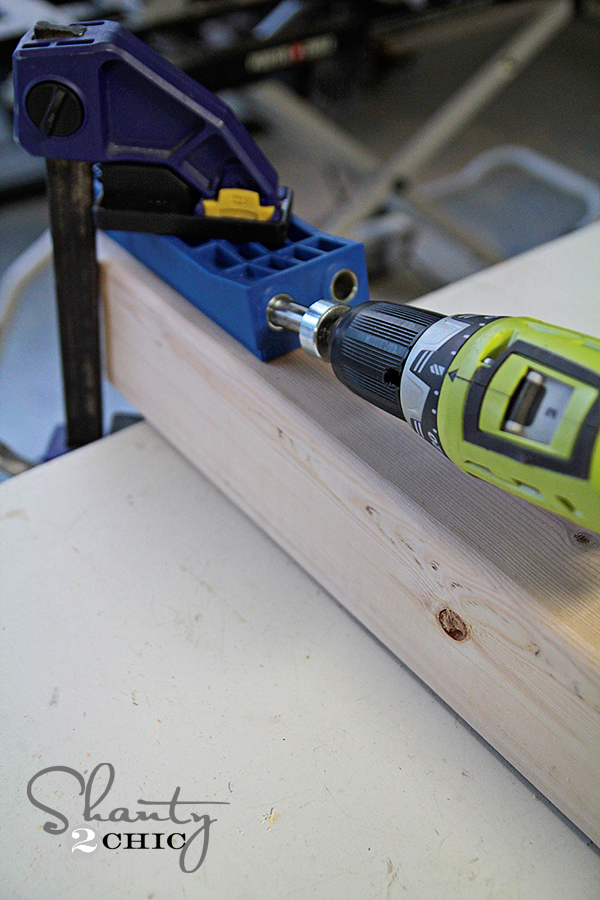
I used my Ryobi 18V drill to make the pocket holes. These pocket holes are bigger and thicker than the ones made with the regular Kreg Jig.
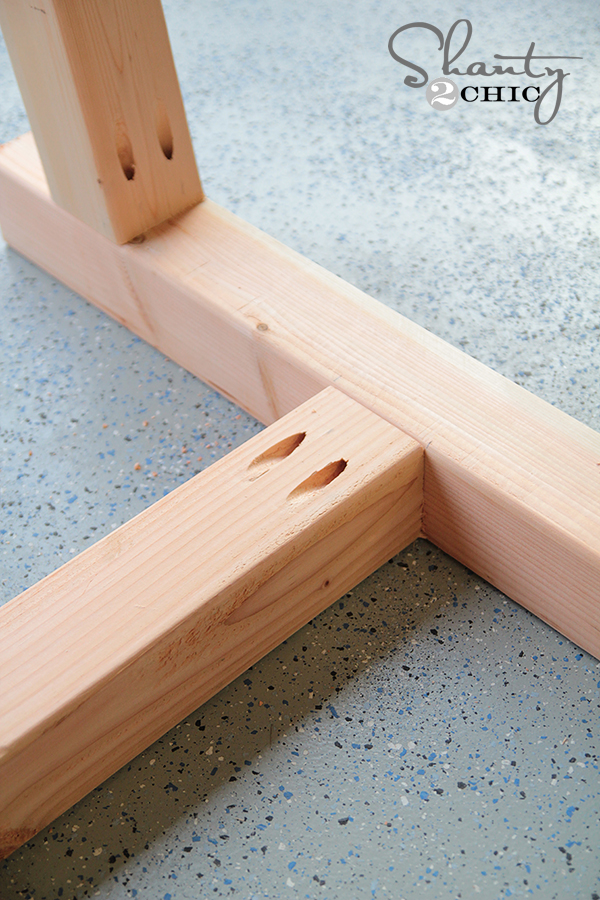
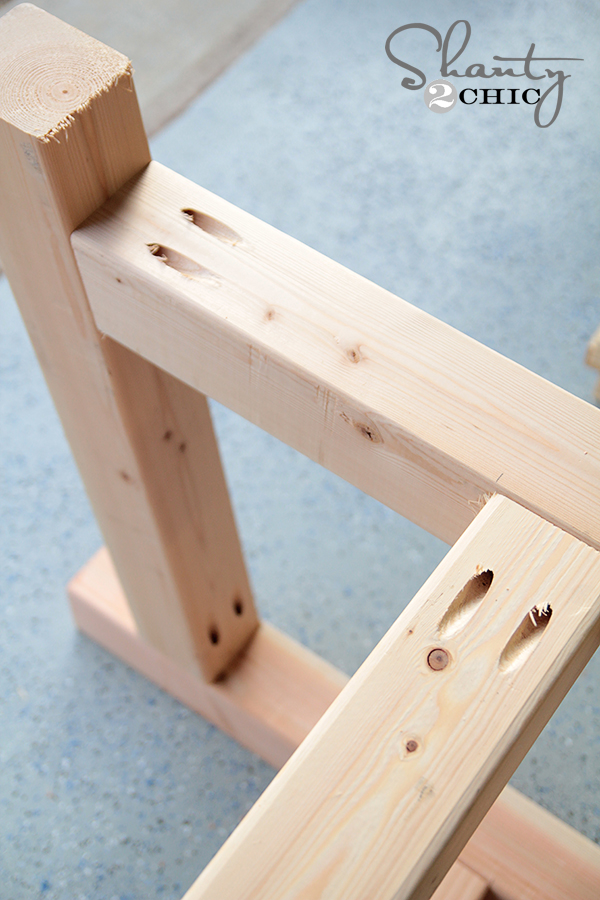
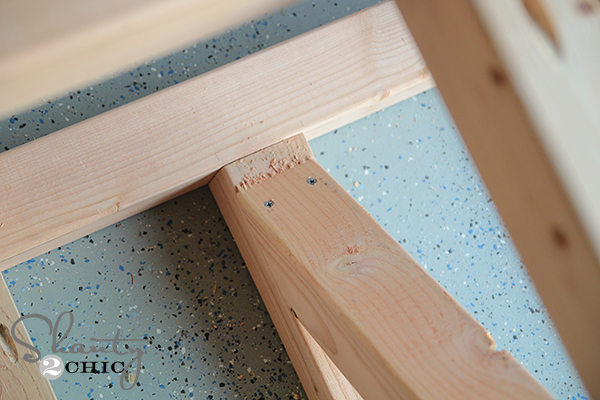
I took lots of photos of where I put my pocket holes on the base because sometimes figuring out the best places to put them is the biggest battle. You have lots of options, but here is where I decided to put mine…
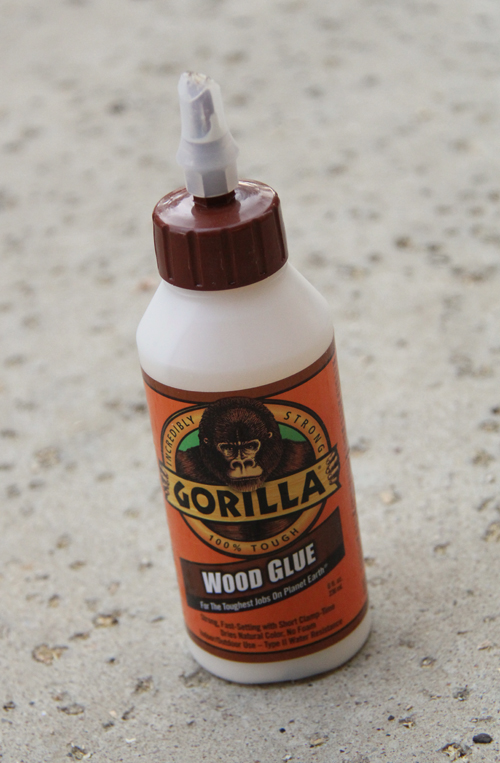
I also used Gorilla Wood Glue between all of my joints!

Now for the diagonal pieces… Sometimes these can be a booger to clamp. In fact, I spent a good 10 minutes trying to hold one in place and then I finally had a light bulb moment and pulled out my Gorilla Tape. That stuff worked like a charm! I know it’s not the most beautiful clamping job, but hey… It held those pieces perfectly and cost a whole lot less than all of my clamps. We will call this part Shanty Clamping

Don’t clamp. Use the tape. Trust me.

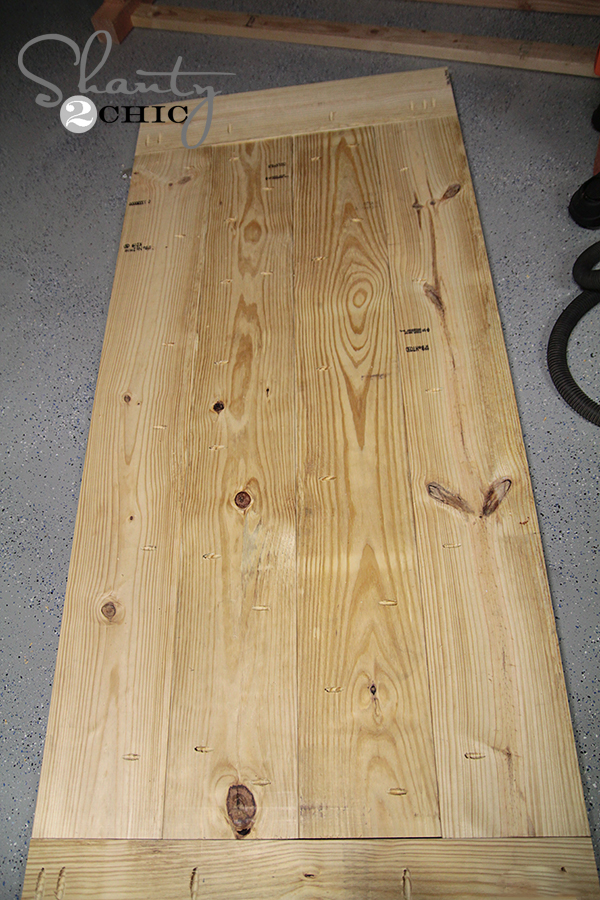
And finally the table top. Oh the darn table top. This is actually a breeze to put together with a Kreg Jig IF you can find nice boards. I seriously made 4 trips to different hardware stores to find boards straight enough to work with. I actually ended up settling on 10 footers just to get good boards that would work. Oh well!
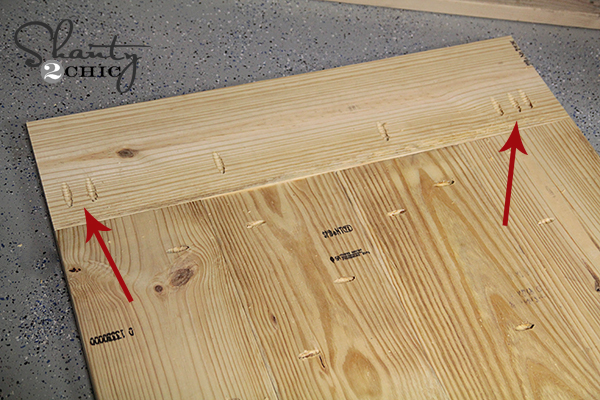
You can see how I put pocket holes up and down the boards to connect them. I clearly didn’t measure at all on this part… Just used the old eyeball method!
I attached the base of the table to the top by using 2 1/2″ wood screws through the 2×4 runners. I also used a few 4″ screws through the 4×4 base just for added strength.
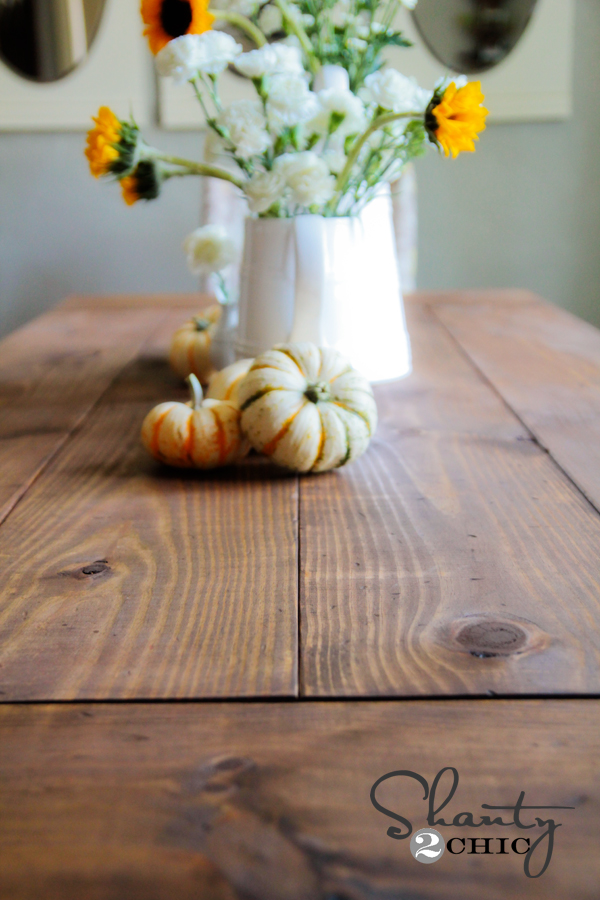
And now for the finish! Woohoo!
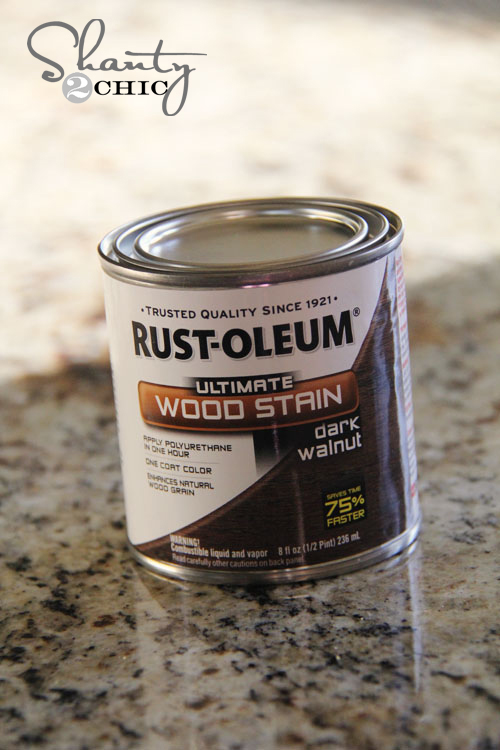
I decided to match the finish of the table to the Restoration Hardware sideboard and hutch I made for my dining room HERE.
I used Rustoleum Ultimate Wood Stain in Dark Walnut! You can find it at Lowe’s, but do know that the packaging has changed a bit.
Once it dried, I put 2 coats of Rustoleum Ultimate Polyurethane in Satin on it to protect the finish. This goes on white and dries clear. It doesn’t stink and it dries fast!

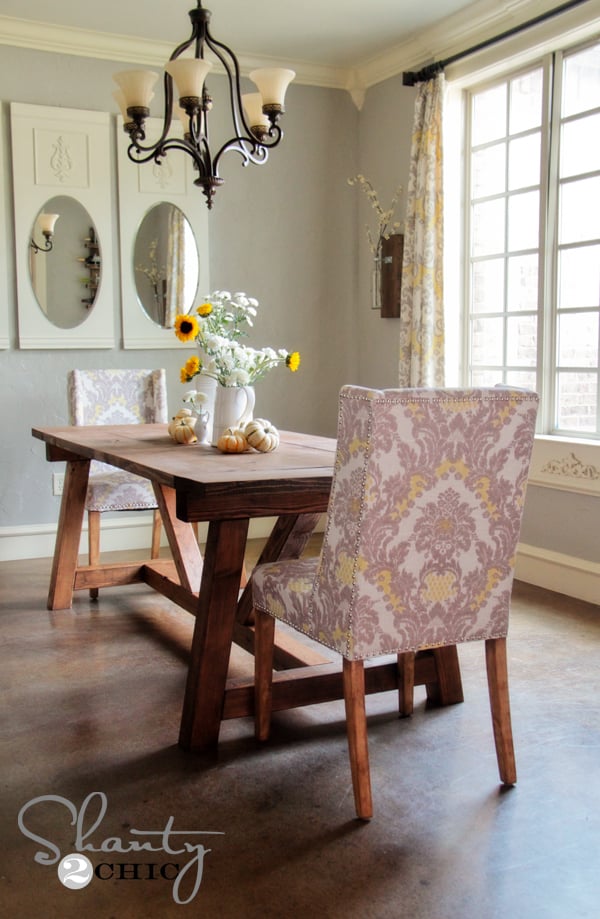
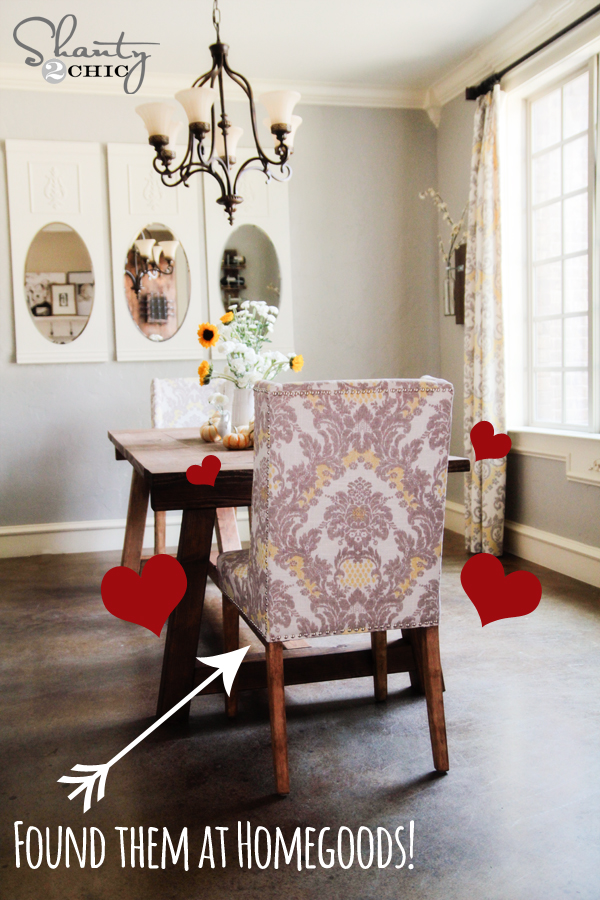
I am in the middle of making the cutest benches to match this table. I LOVE a dining table with benches for my family. The kids can’t ruin them, and they are rustic and beautiful at the same time. I knew I wanted to dress the table up a bit with some end chairs, so I went to my very favorite store to find those!
And here are a few more shots!
I hope you love it as much as I do!!
I would LOVE for you to share this and PIN it with your peeps below!
Thank you so much for stopping by, and let me know if you have any questions at all. Thanks again
~Whitney
Original article and pictures take www.shanty-2-chic.com site
Комментариев нет:
Отправить комментарий